

Brief
- A new imagined form of currency
- Documentation of you trading with your invented currency (Image based)
- A 200-word statement. 100 words on the fictional origins of your currency and 100 words on the act of trading with it. (Words based)
- 2 x Interview with 2 different people about their relationship to money
- A brilliant title for your front cover
Specifications
- Format: B5
- Length: 24 Pages, 4 for the covers
- Breakdown: 10 pages for Images, 10 pages for Words
- Bind: Saddle-Stitch or Spiral Bound
- No Restrictions: Print Technique, Colour, Paper Stock
Deciding on a Topic
The first workshop was to choose and develop three possible ideas for our currency. I have included my mind map which helped me to do this.
Other than beer, I considered using coffee pods, with the idea that caffeine was the currency as many of us rely on it. My other idea was to create limited numbers of small prints of photographs. The value would come from the fact that volumes of the prints would be limited, or if they were of lesser-seen subject.
I chose beer in the end as it is used a lot already in an almost currency-like way, with the idea of owing someone a pint. I was excited to explore this idea further.
Developing My Idea
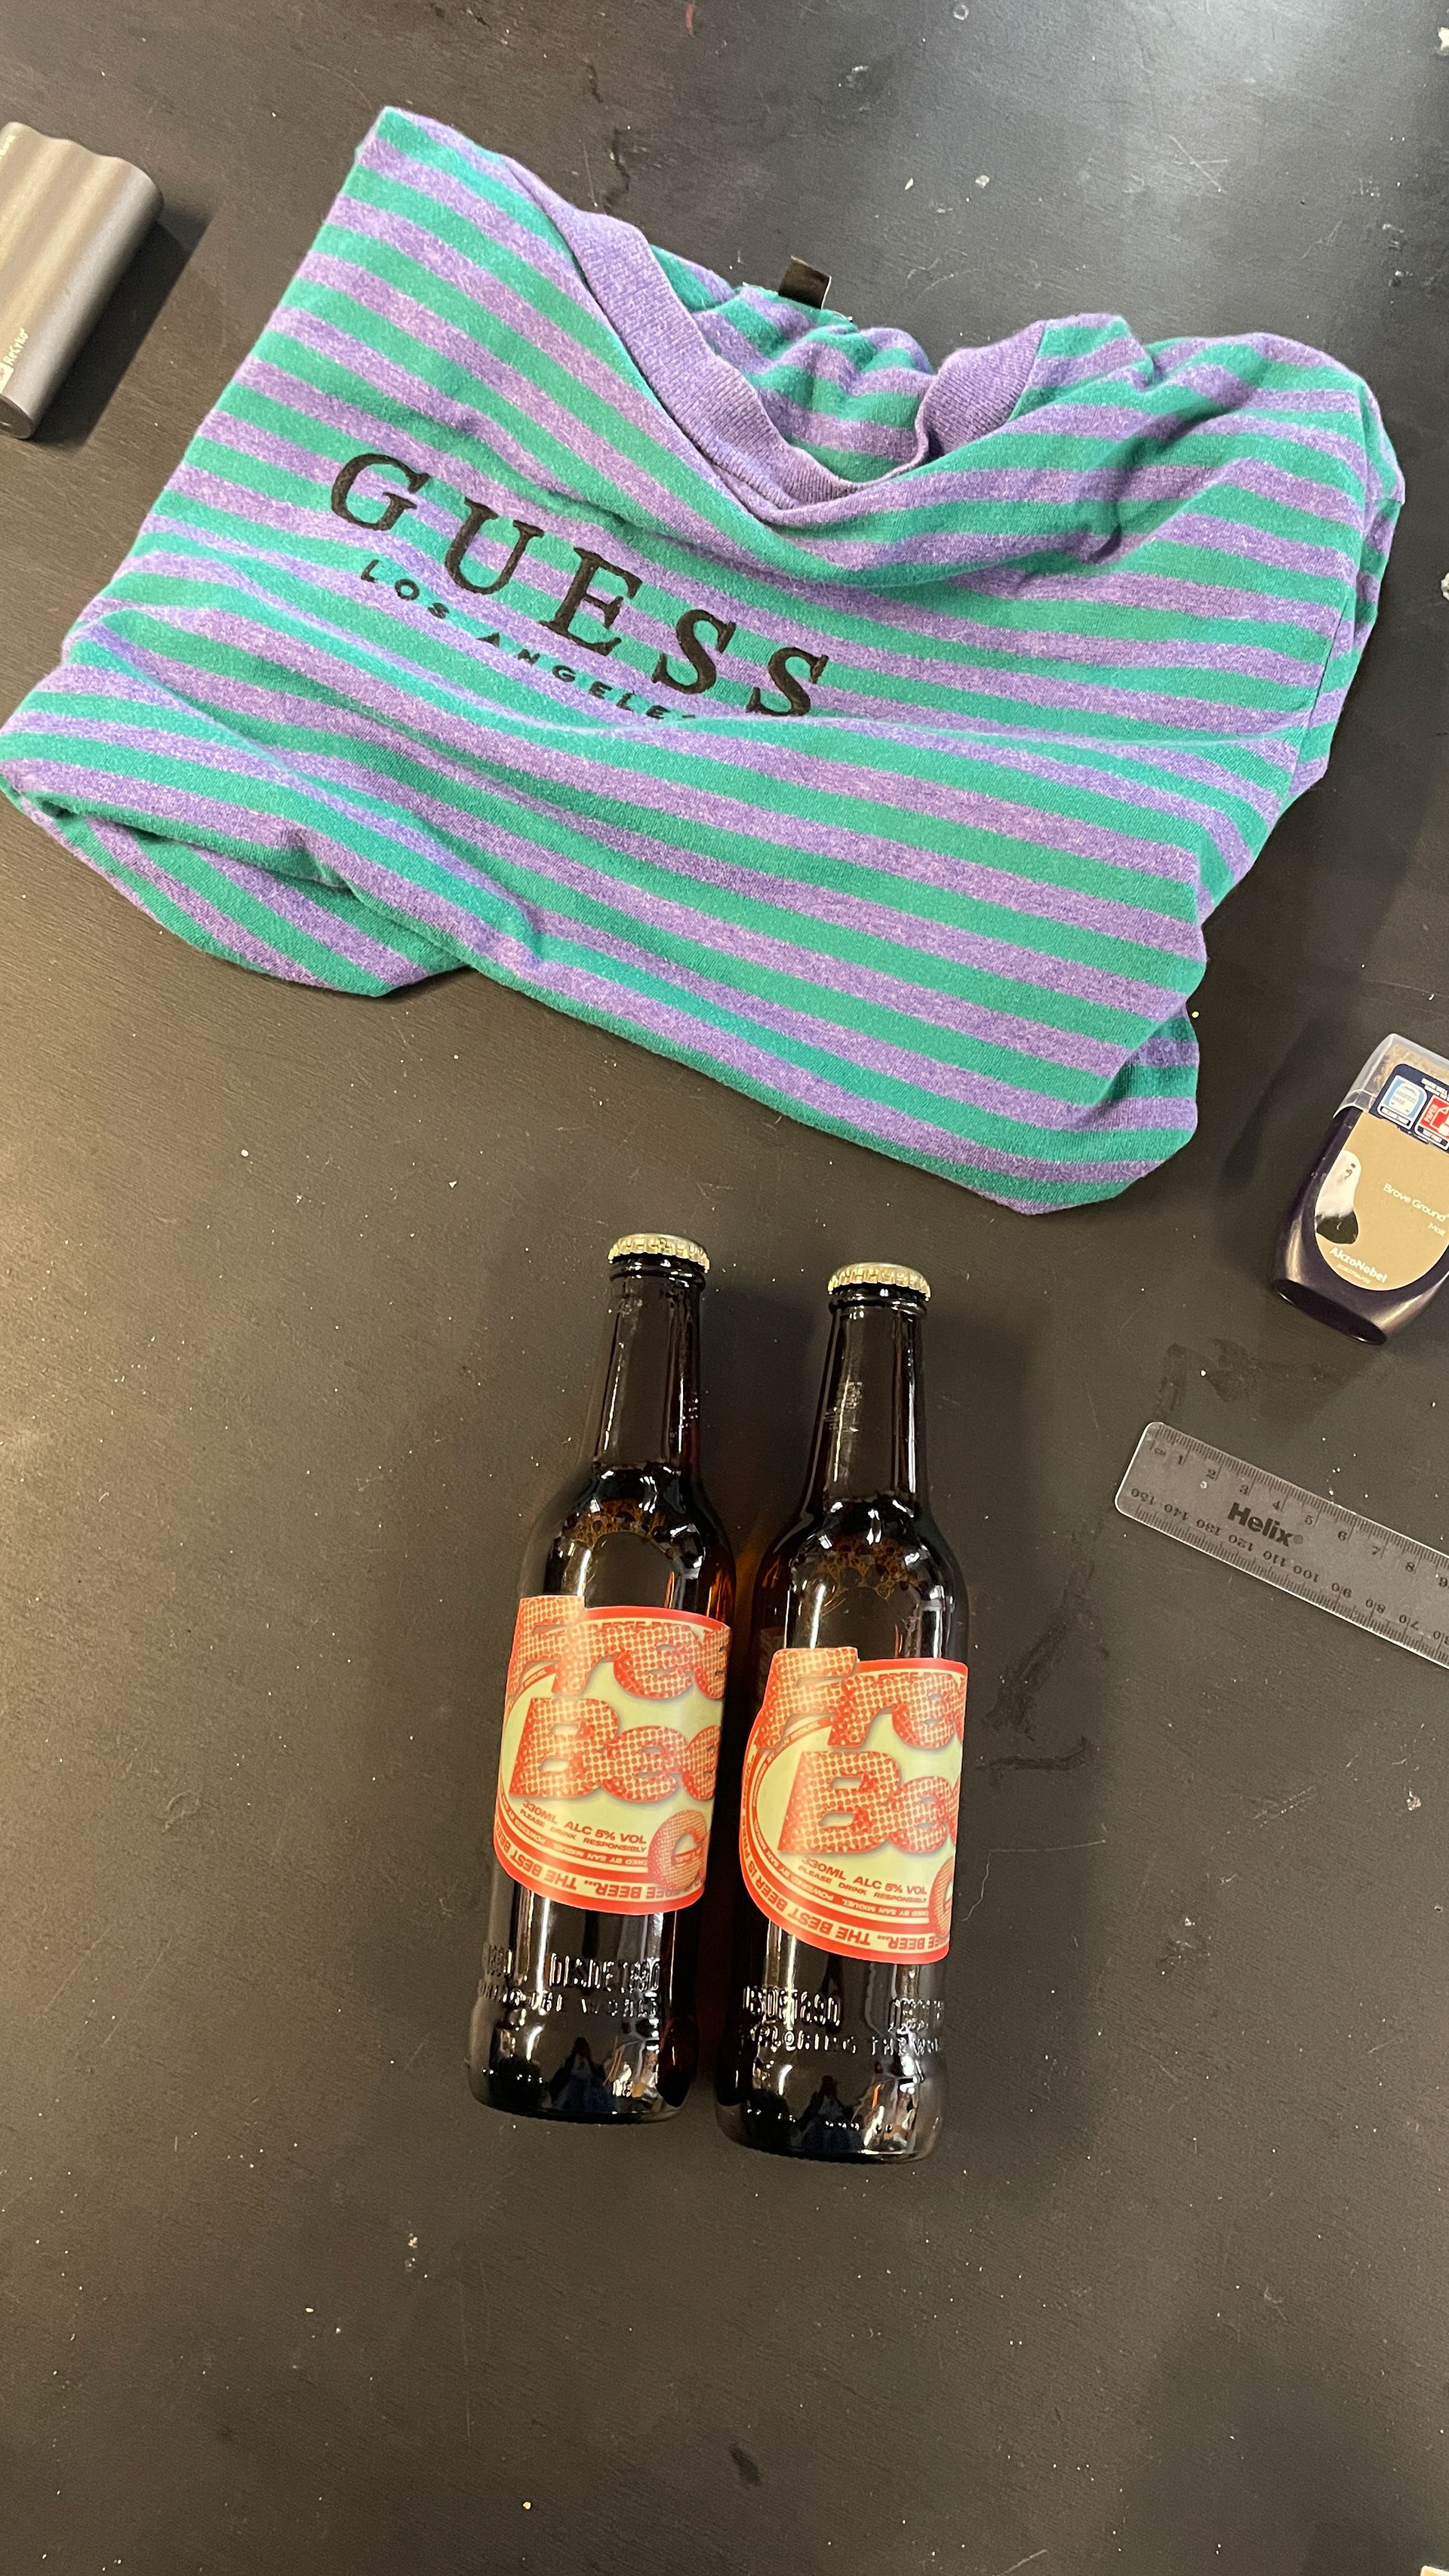
My idea at first was to create beer tokens, which people could then redeem by calling a phone number. After a crit, however, it was suggested that I could create my own beer labels, and then hand out either bottles or cans. I had never designed a logo or label before so I was eager to give it a try. I would quite like to work with packaging in the future, another reason why I chose to pursue this method.
I designed the label using Adobe Illustrator, using the ellipse tool and offset paths to create different paths for the type I wanted to include. I had already chosen the beer I wanted to use, being San Miguel, so included the volume and alcohol content so that it would look like a real beer label. I measured the length of the existing label on the bottle before I started to create it, in the hope that mine wouldn’t be too large to remain legible. The final labels I printed were very slightly to large, so next time I would test their sizes before sending them to a print shop to produce. For the brand name, I used Illustrators’ ‘3D Inflation’ tool, I then took that into Photoshop to apply the half-tone and gradient. At this point, I had decided to create my publication using the Risograph, but I shall talk about the publication itself shortly.
This now meant that the value of the currency would depend on the number of beers as opposed to what kind.
Typefaces
During one of the Tuesday sessions, Jono showed us a Type Studio called Grilli Type based in Switzerland. I had downloaded a pack of trial fonts from them, of which GT America Expanded. I used the Bold Italic Font. I felt this typeface was a good fit for my publication and label, as it felt almost vintage and commercial. This idea of vintage links with the half-tone effect used in the images and certain text. I paired this typeface with Input Sans, a typeface I downloaded from Adobe a little while ago. I think it works well with GT America because it too is a sans-serif, but retains the vintage feeling whilst being slightly more angular.
Printing Technique
I have decided to print my publication using the Risograph machine. Seeing as we have access to one in the Arnolfini, I wanted to get familiar with the machine itself, this publication being a great starting point. It was only after the printing process began, however, that I realised especially for only one copy of a publication, it would be quite expensive to produce. To get my money’s worth, I decided to make 3 copies of my publication. This also allows me to have some redundancy, in the event a print fails due to a paper jam or incorrect orientation for example.
Colour Palette
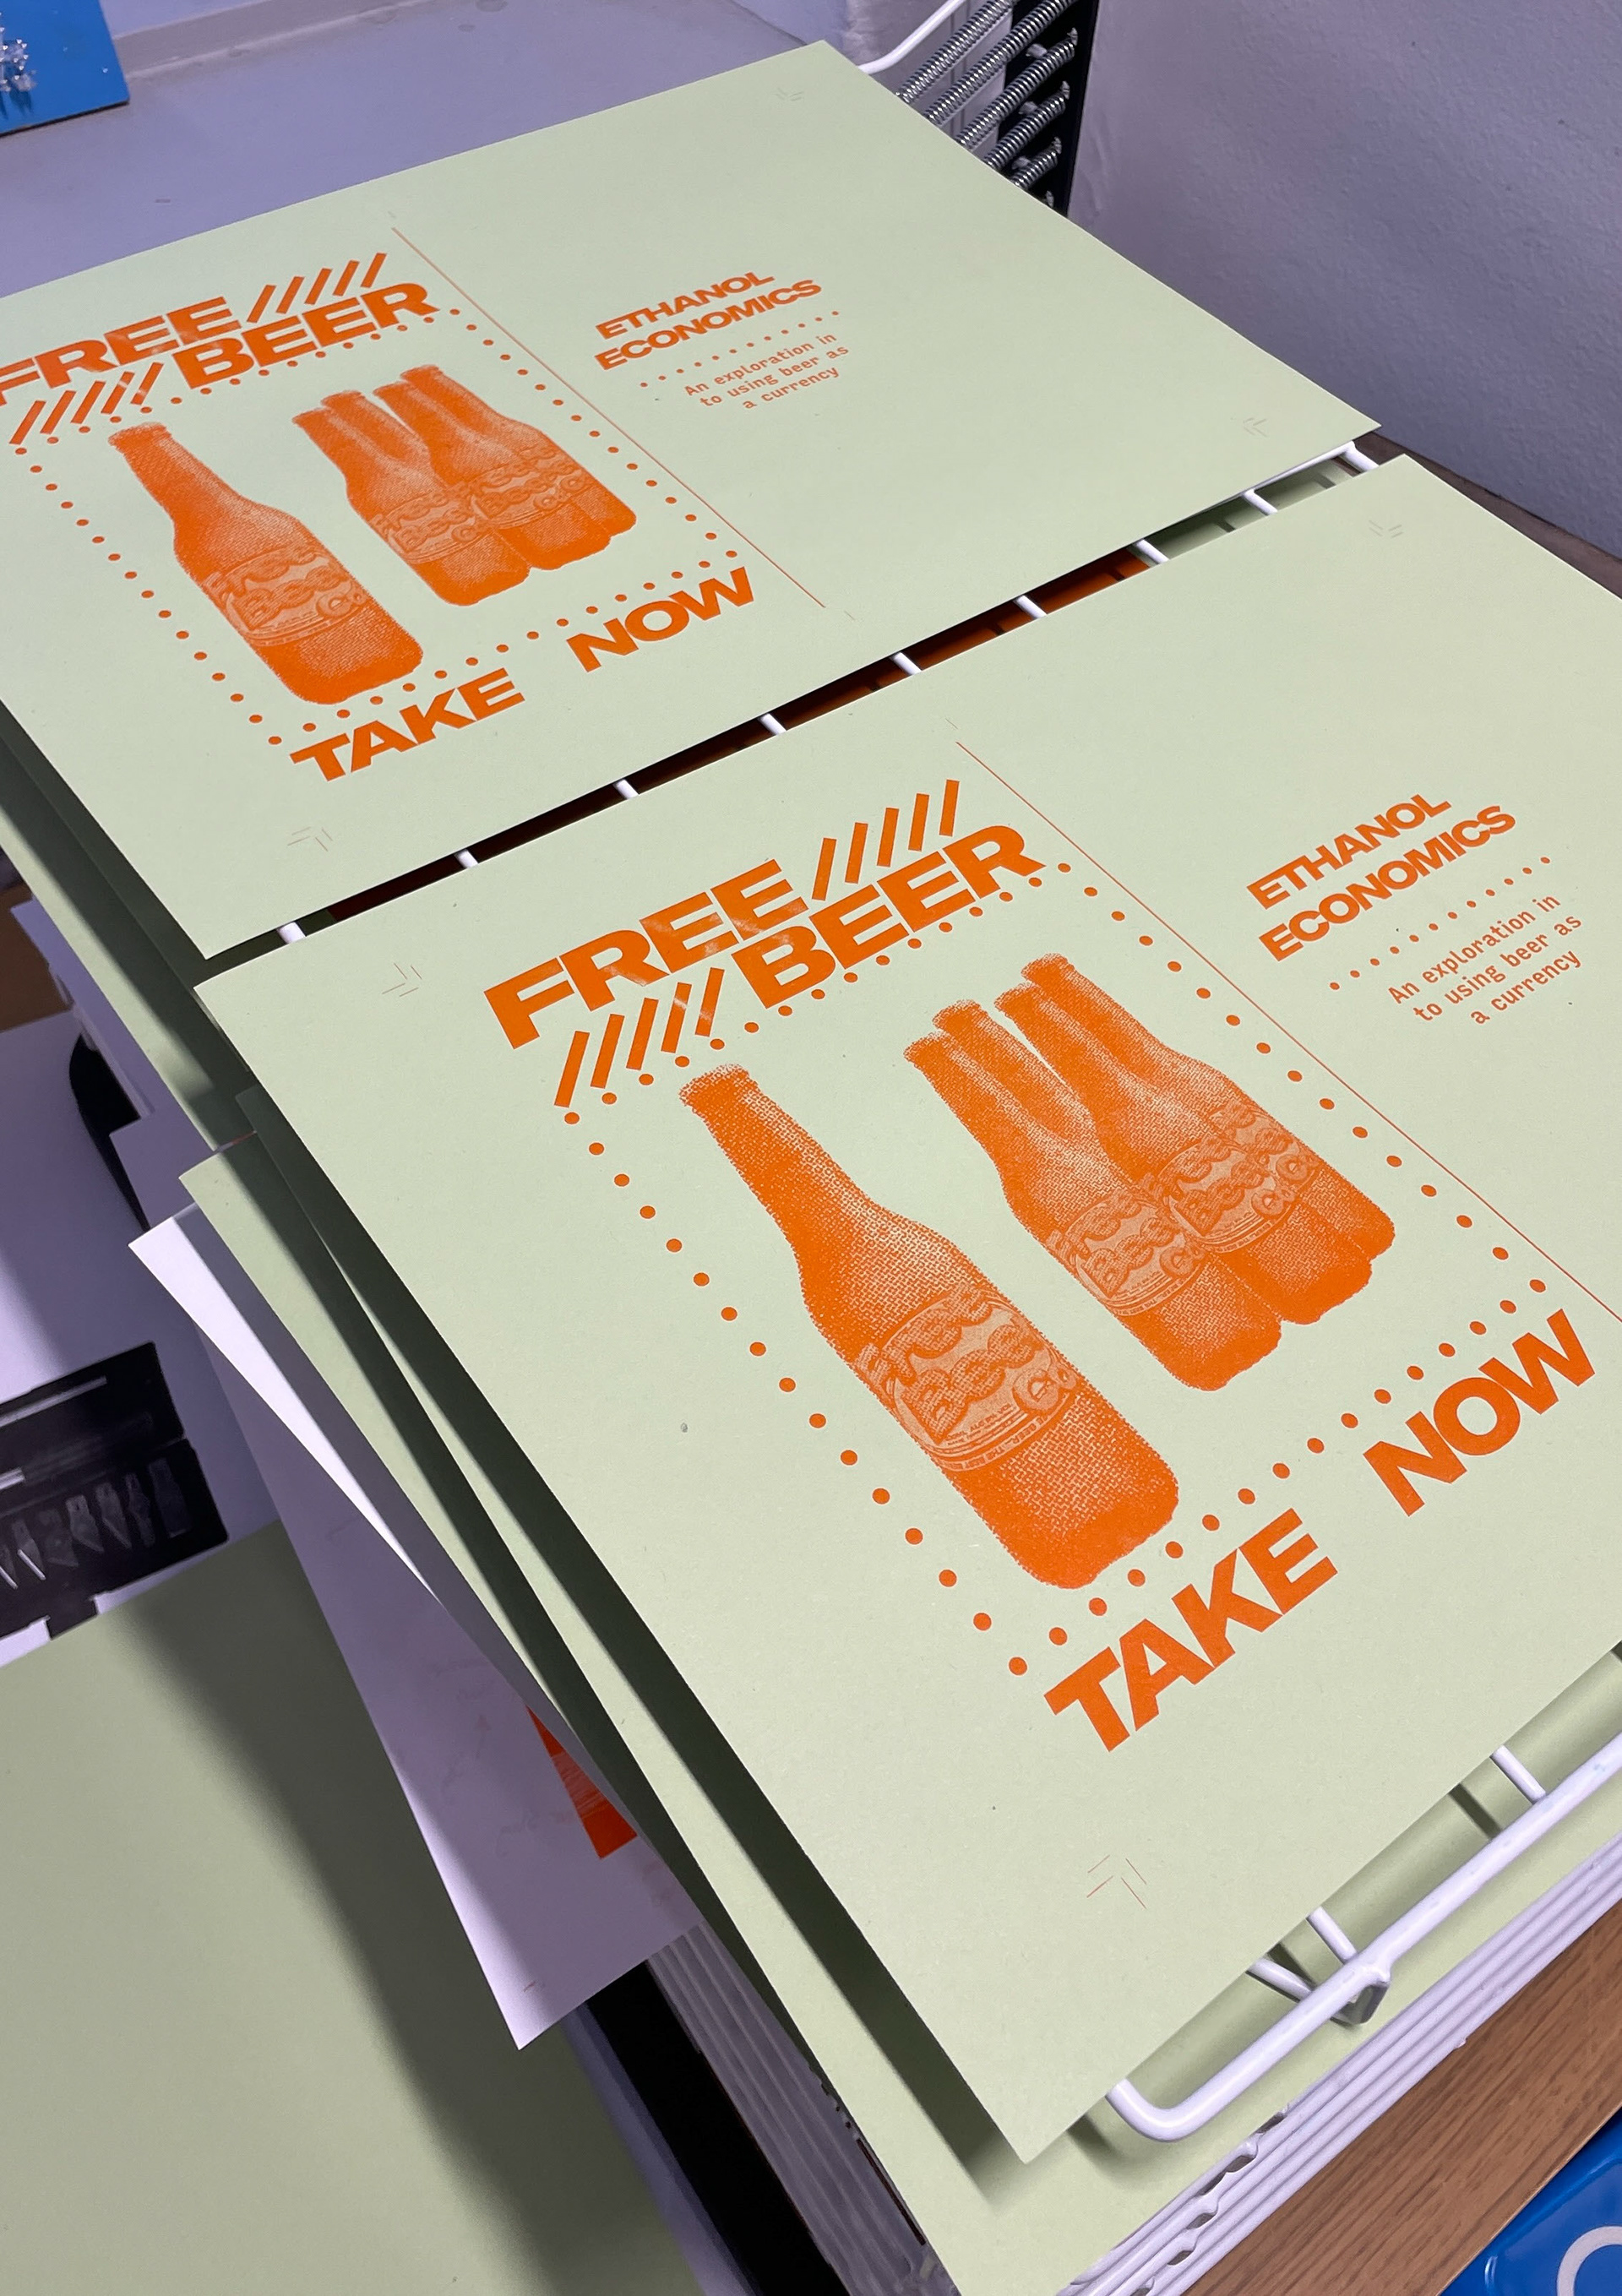
Seeing as I was using Riso, and for the first time, I wanted to use just two colours in my publication. For the background, I wanted something fairly neutral, so whatever ink I use is contrasting. In the end, I settled on using a light, pale green for the background and an orange for any type or imagery
Paper Stock
As I am using green as a background, it’s best to print onto green paper, rather than layers of ink. As I found when printing my first master copy, I had a paper jam as the paper had stuck to the drum of ink as it was being printed. The paper I am using is a pale, pastel-green at 160 gsm so that my publication has some weight and feels high-quality.
Patterns
Originally my publication incorporated these lines in Indesign:
However, after a crit with Jez, it was pointed out that I hadn’t really incorporated any design elements that you would associate with beer. Instead, I swapped those lines with these:
This is meant to replicate the bubbles/gas that you get with beer. I have also incorporated this in the front and rear covers. To make them, I created a pattern using Adobe Illustrator and saved the .svg as a large texture.
Imagery
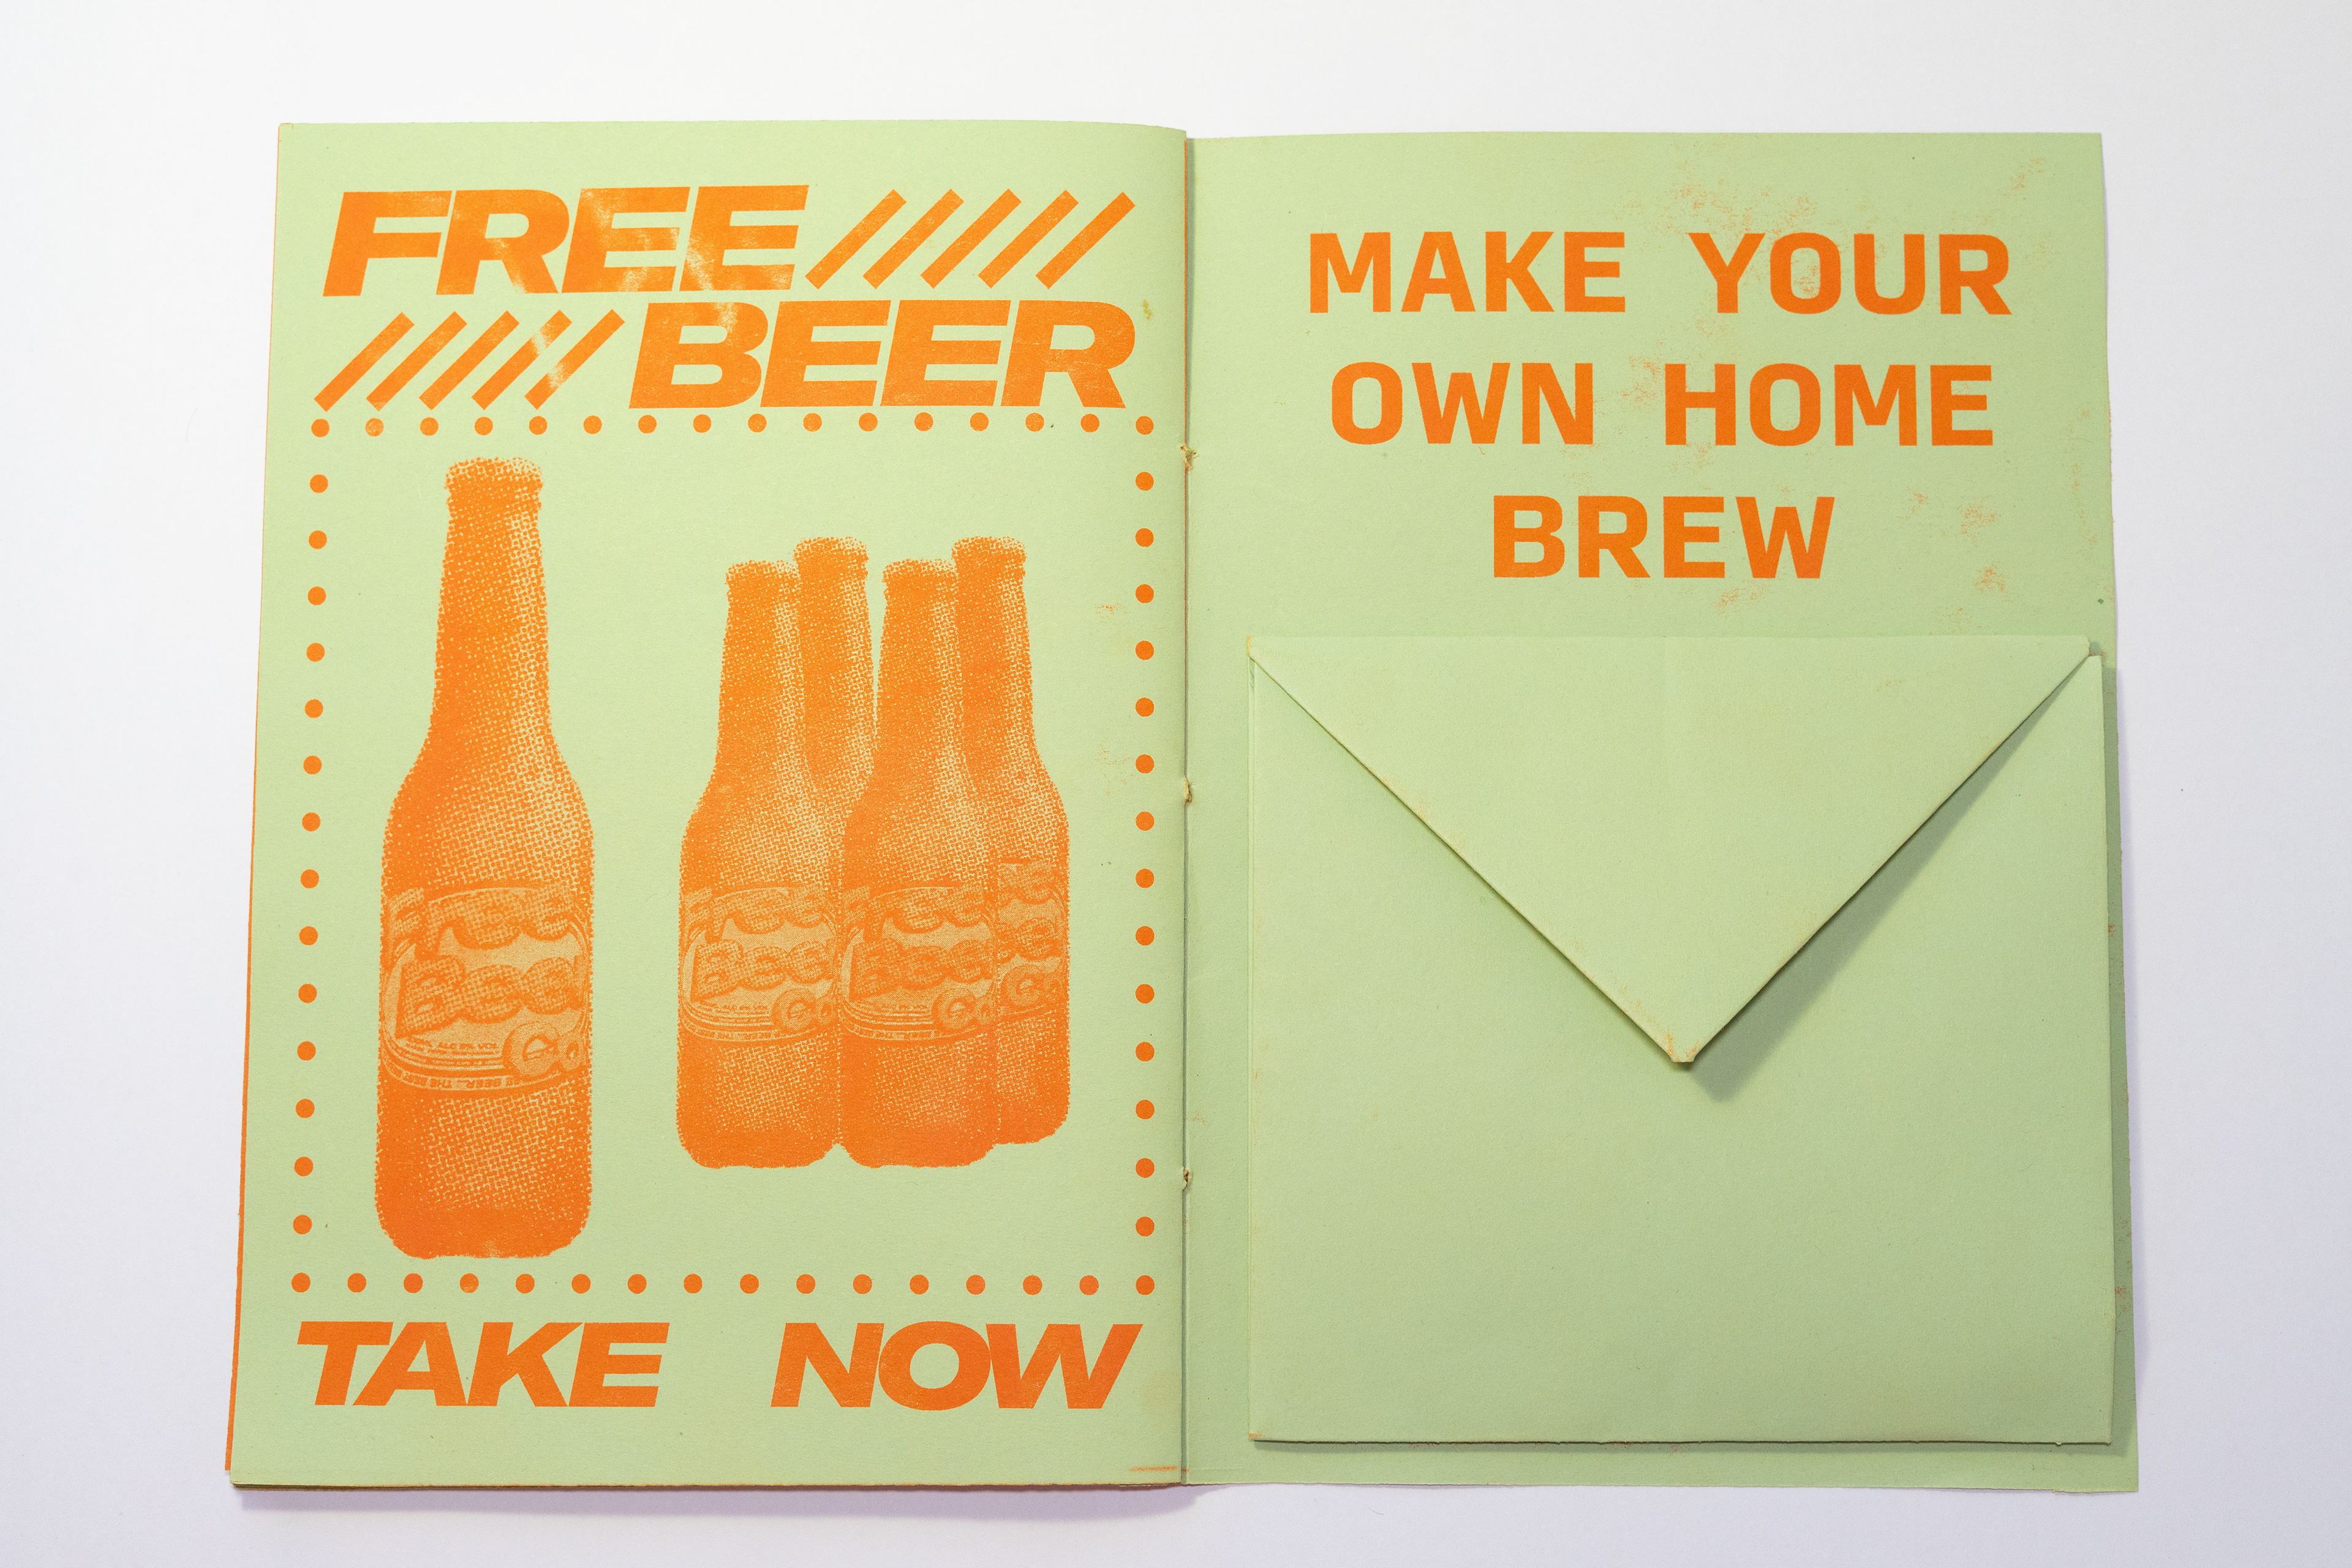
To show imagery and 3D lettering in my work I used halftones to show gradients. I figured this would also help when printing with the Risograph, as gradients are a little harder to display. Halftones were originally a technique I was introduced to during the lithography course.
Binding Method
We were given the option of binding our publications in 2 different ways: saddle stitch or spiral-bound. My publication would better suit a saddle stitch because it makes use of going across the gutter at various points, whereas a spiral bind would have more of a gap and look less seamless.
Writing in My Publication
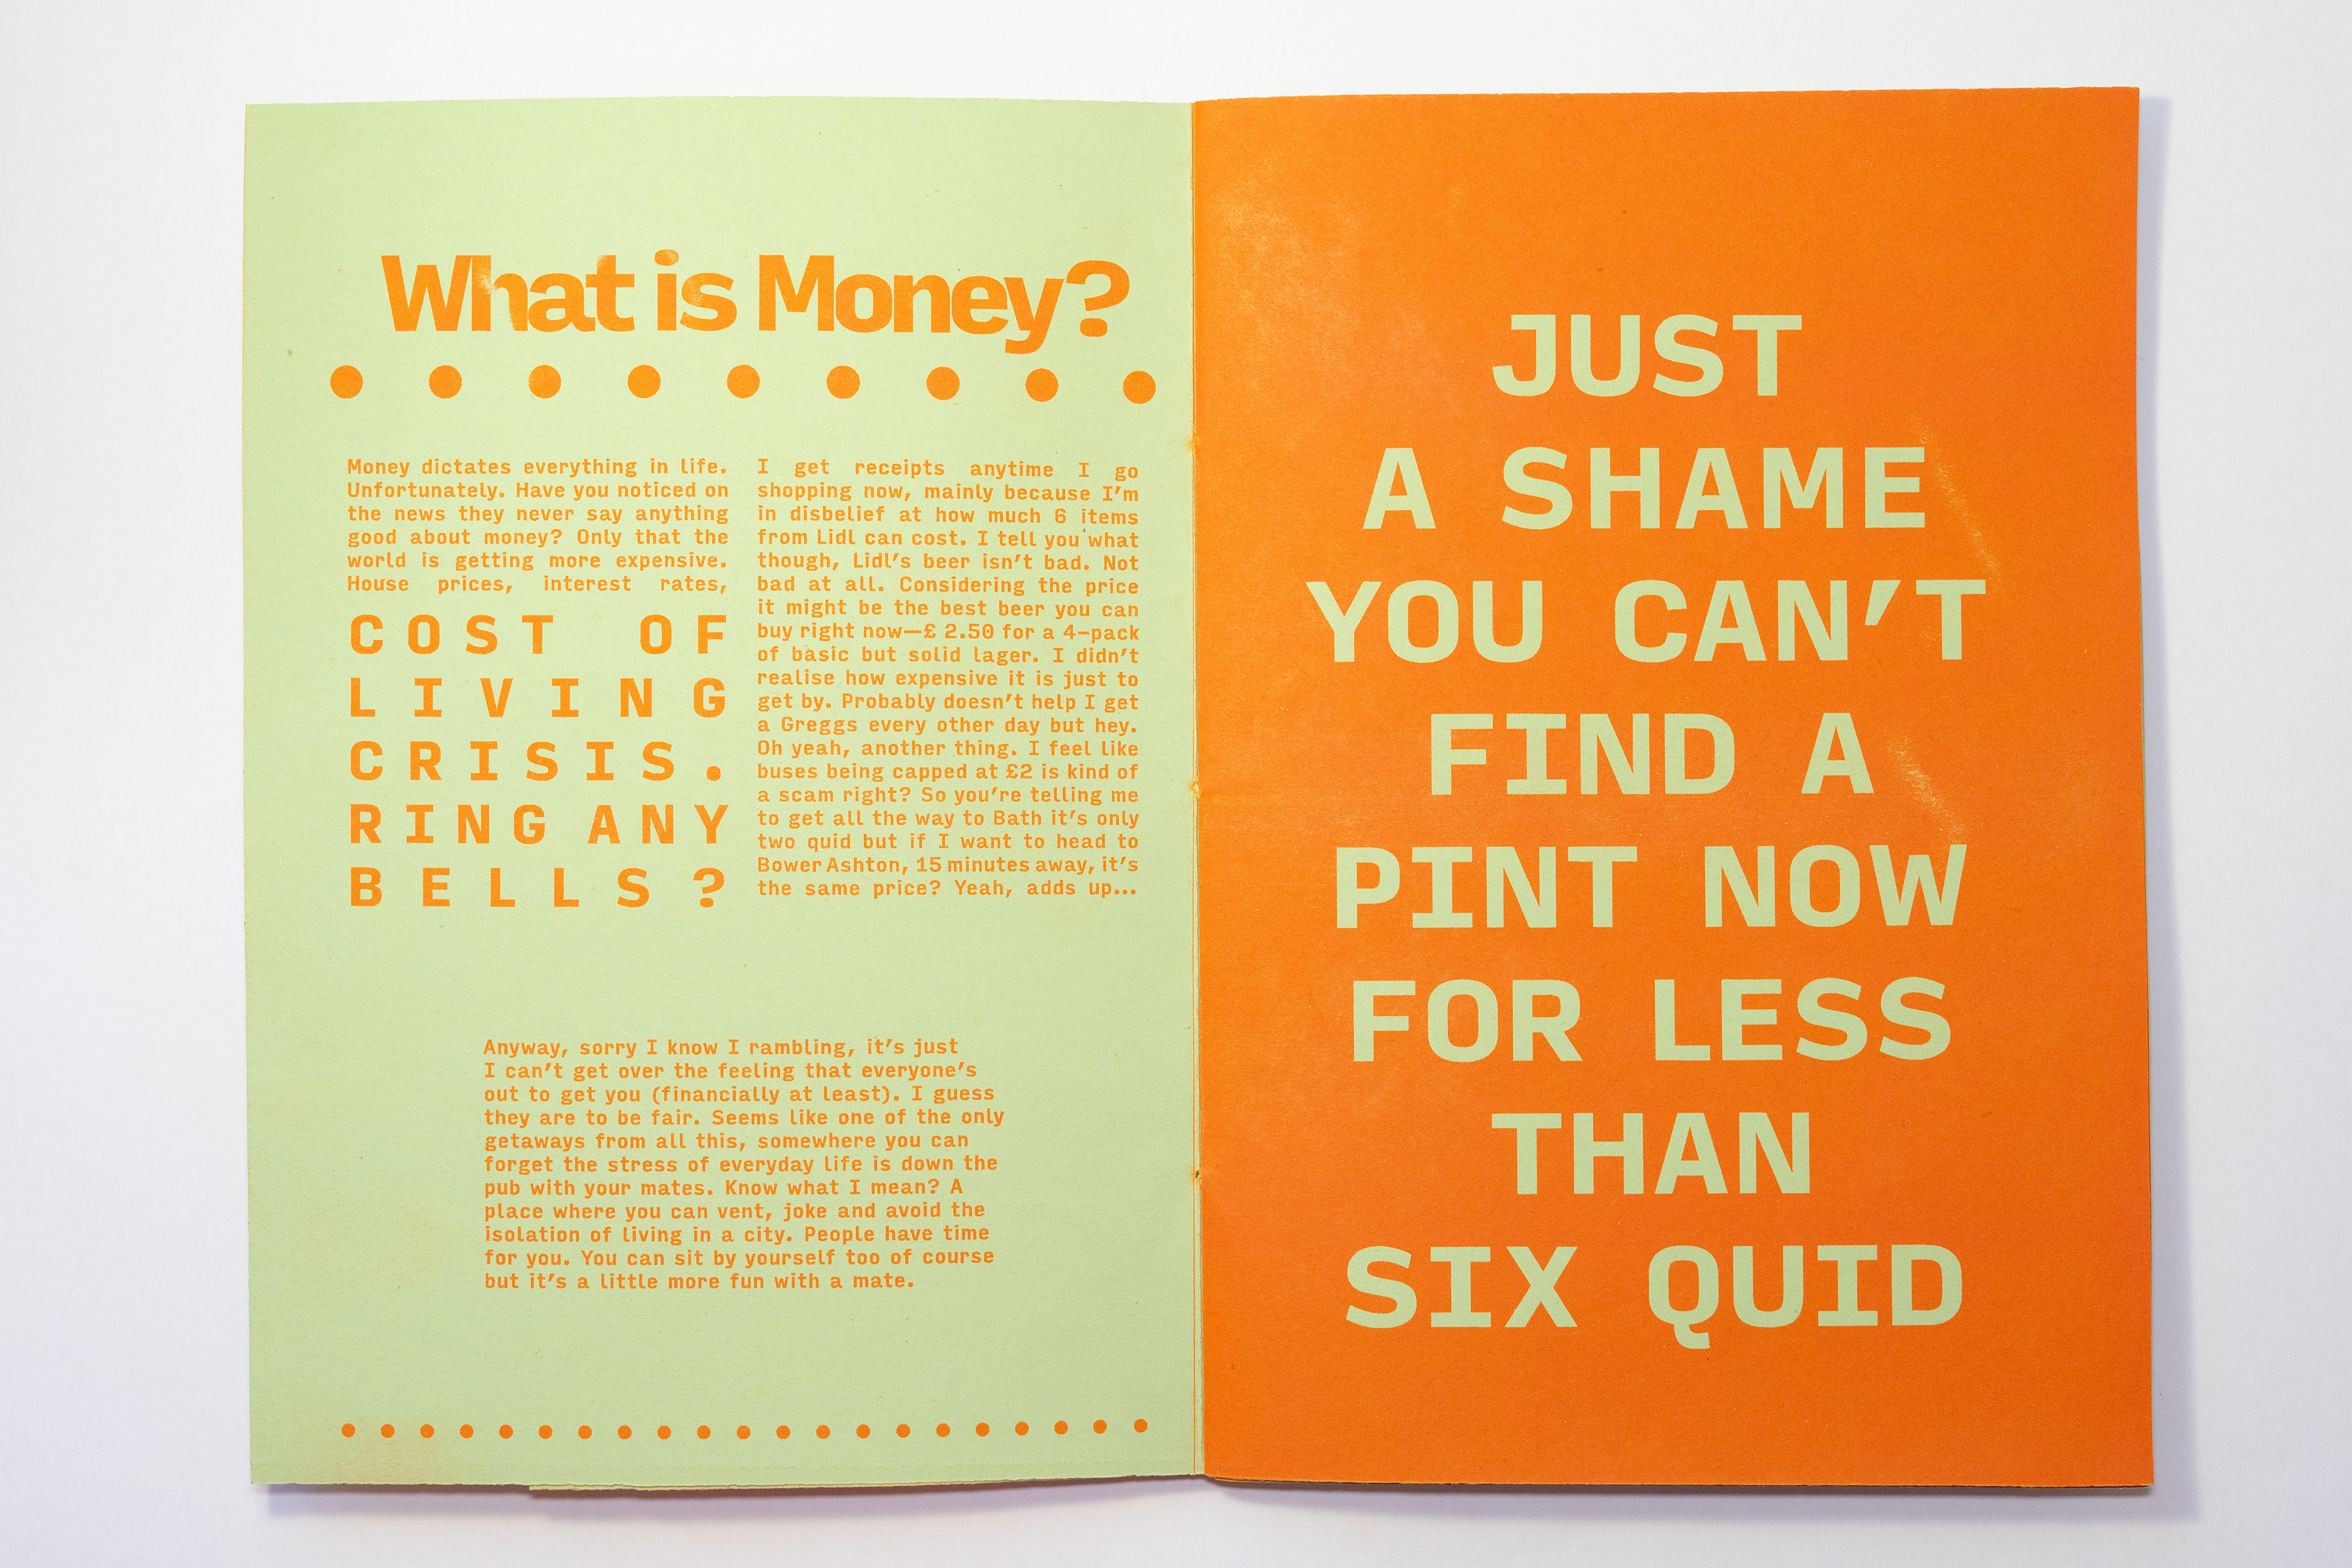
According to the brief, our publications were to include a 100-word statement on the origins of our currency. I decided to open my booklet, employing some skills that we used in the Character Assassination task, and Short Imagined Monologue project. This involved speaking to the reader in first person, about how I personally feel about money. I ended with a pull quote, which started relating the idea of money with beer. Like in the Monologue project, I too enjoyed writing as a flow of ideas entered my head. I responded to feedback from Gabriel, to use language in the headings which have a familiar tone to them, especially in a pub environment. For example, the interview section in my publication is called ‘Over a Pint’ and my closing thoughts “Last Orders”.
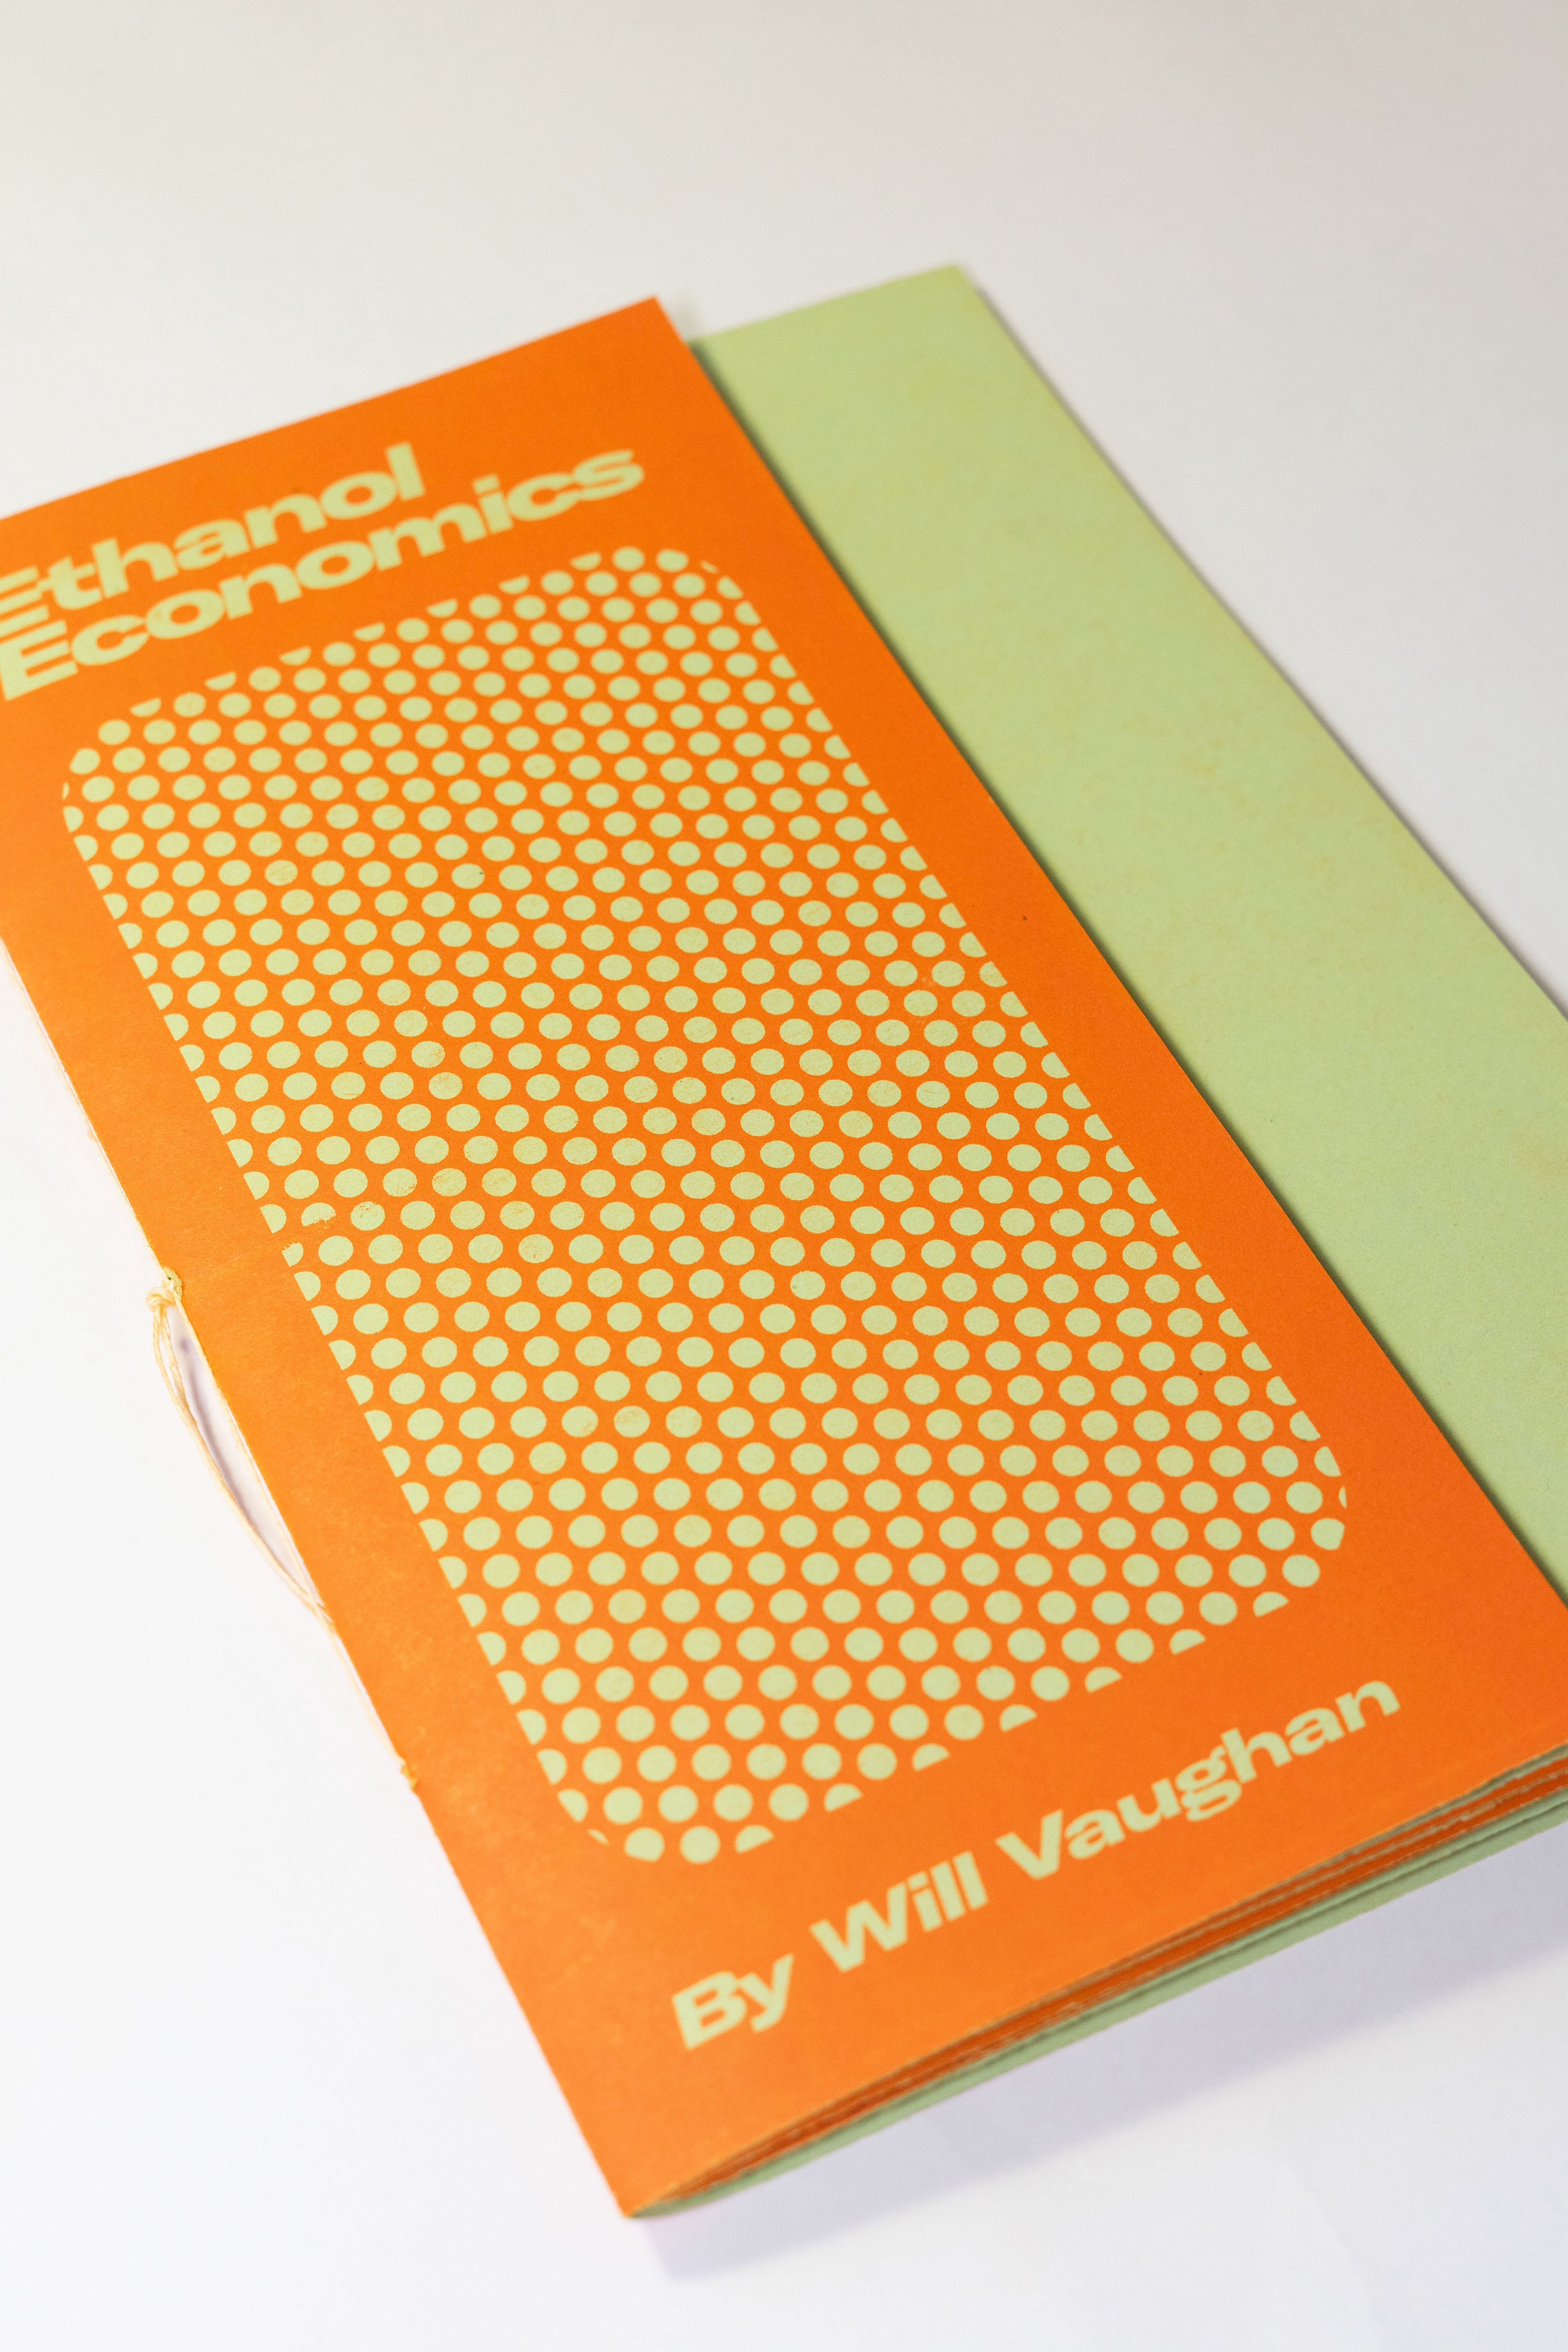
Front Cover and Name
For my front cover, I was influenced by various other publications from previous years and other designers. Some of their publications would feature front covers with portions cut out revealing something underneath, usually illustrations or type. It feels more interesting than a typical, flat 2D cover, it gives the publication depth before you even open it.
This page was the last of my interview. I decided to write the last thing my dad said as a pull quote, “What a depressing conversation. I created outlines of the ellipsis at the end, to make it sound as though he is sighing as he is saying it. They also give the appearance of coins falling off the page.
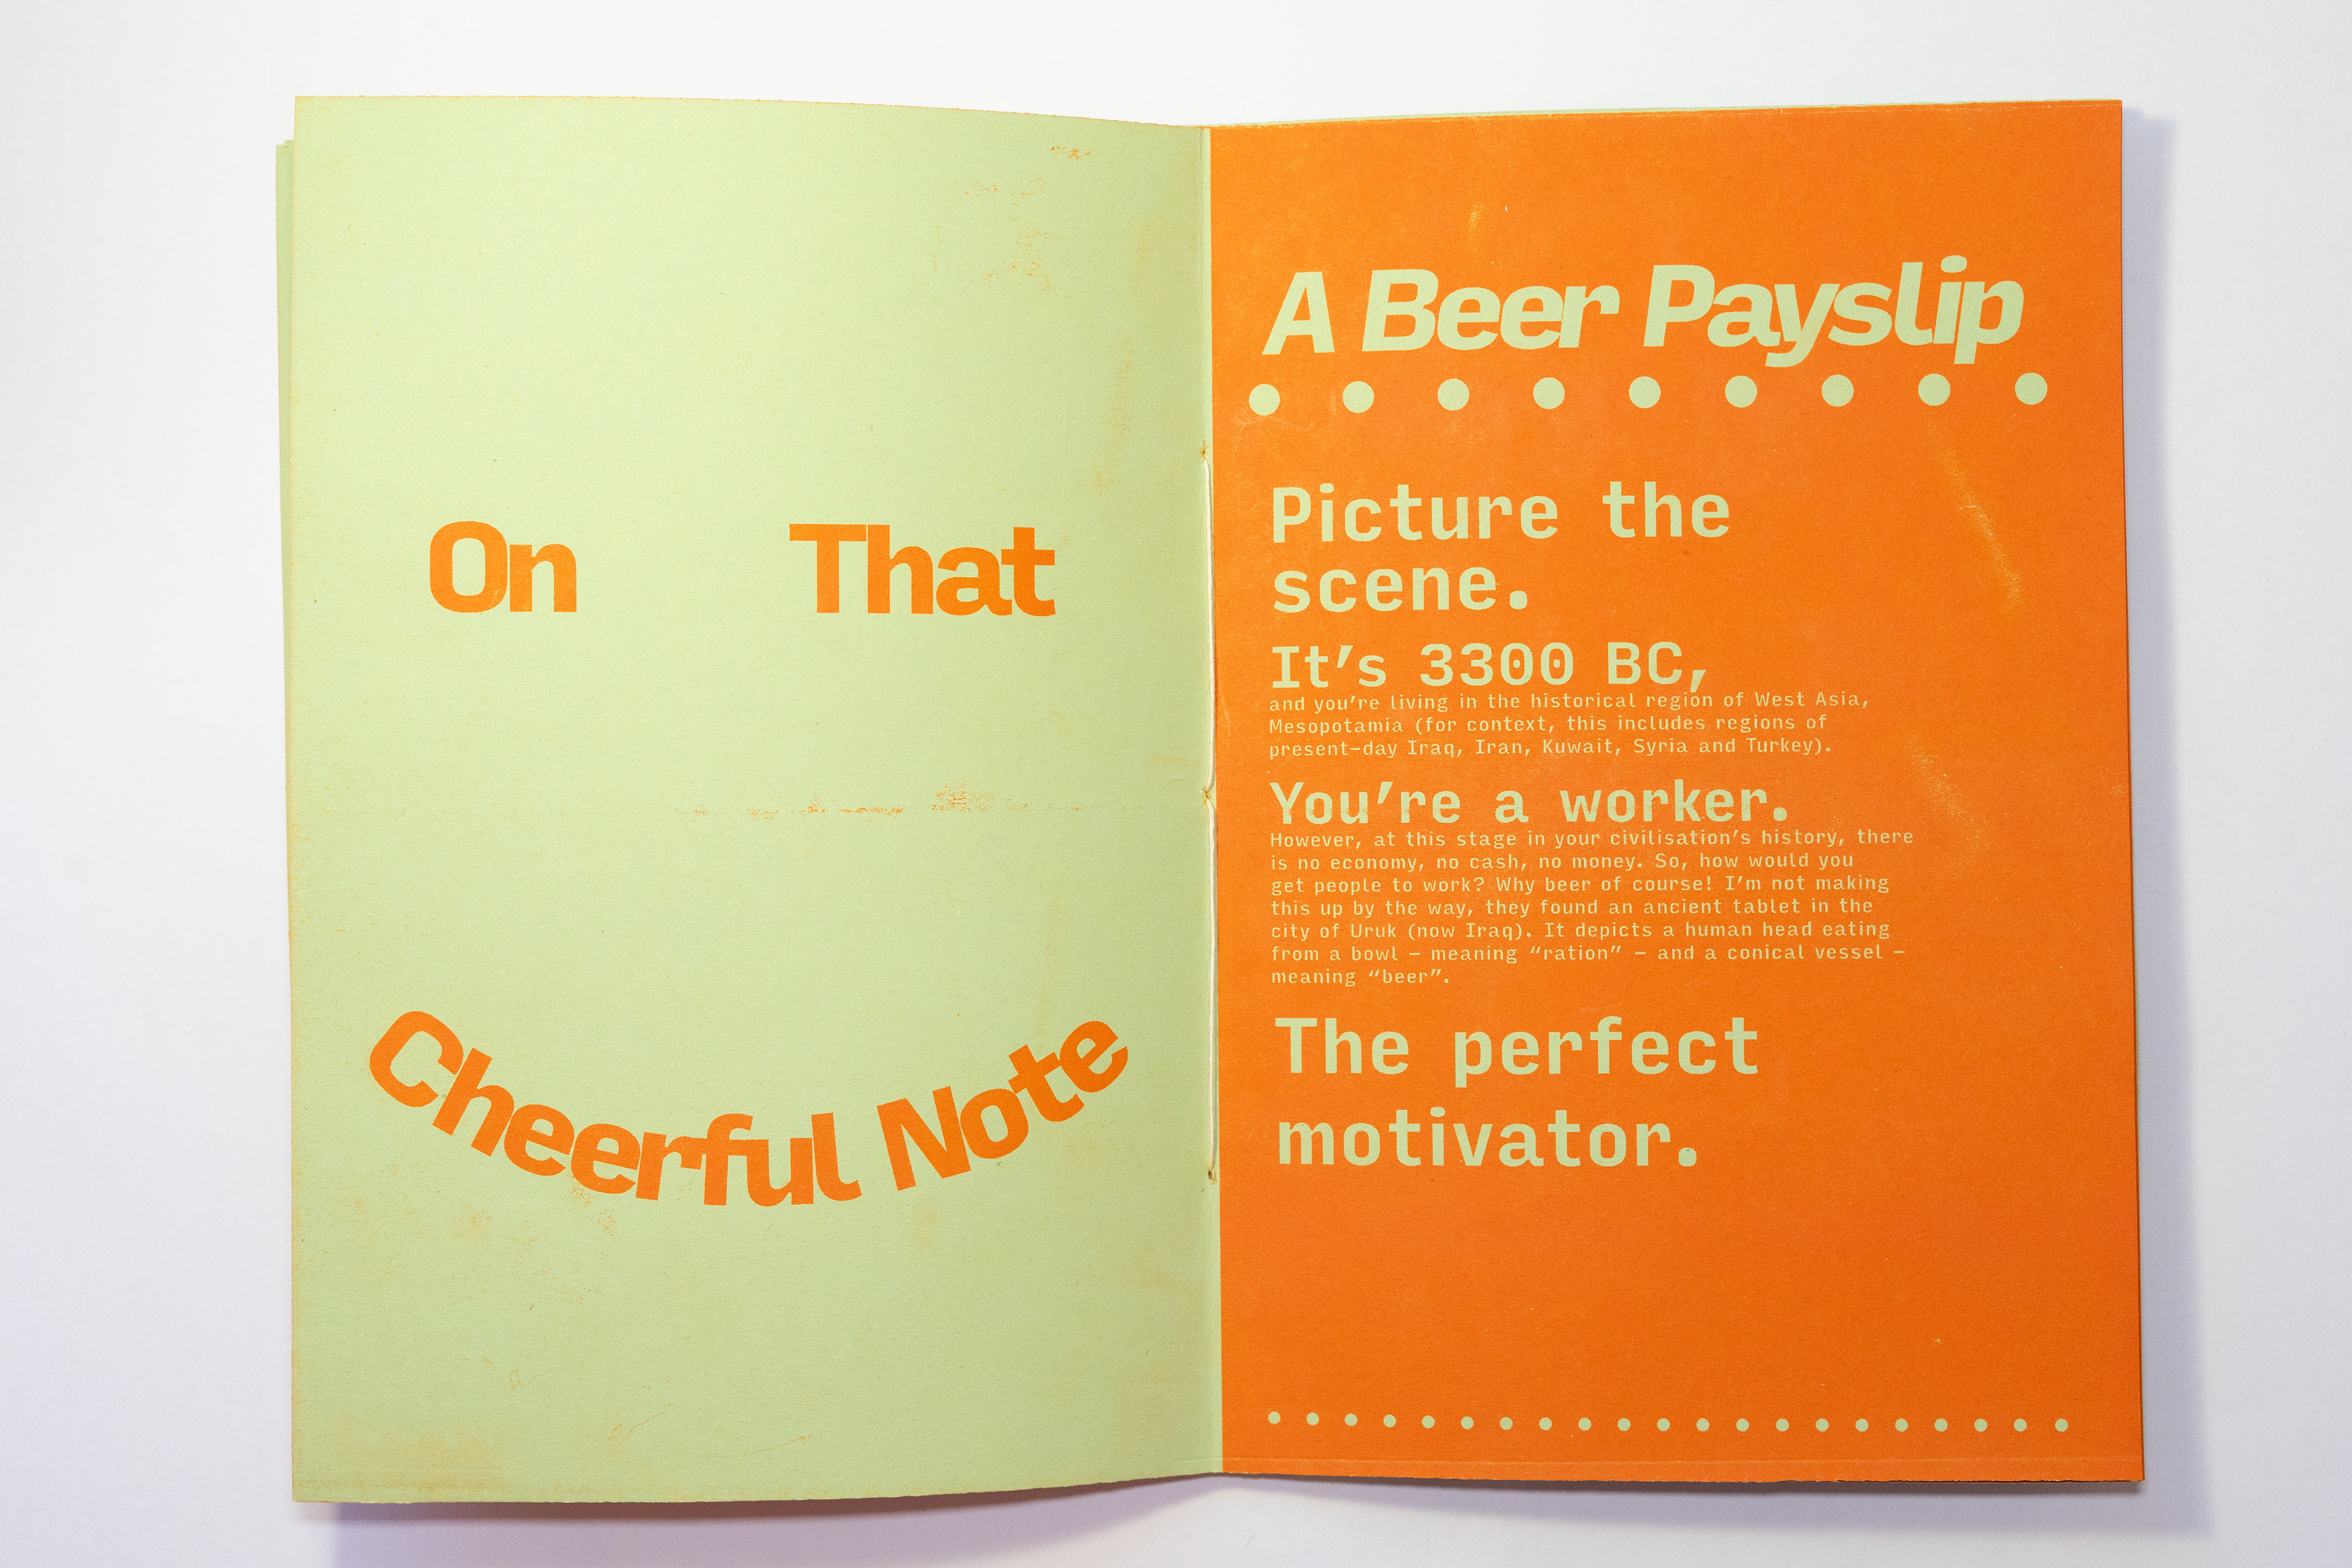
On the following page, to bring the tone of the publication positive again, by making a smiley face with type. I then used another contrasting, full orange page to outline my plan. The monologue puts you in the position of someone who was once paid in beer, before any kind of economy existed.
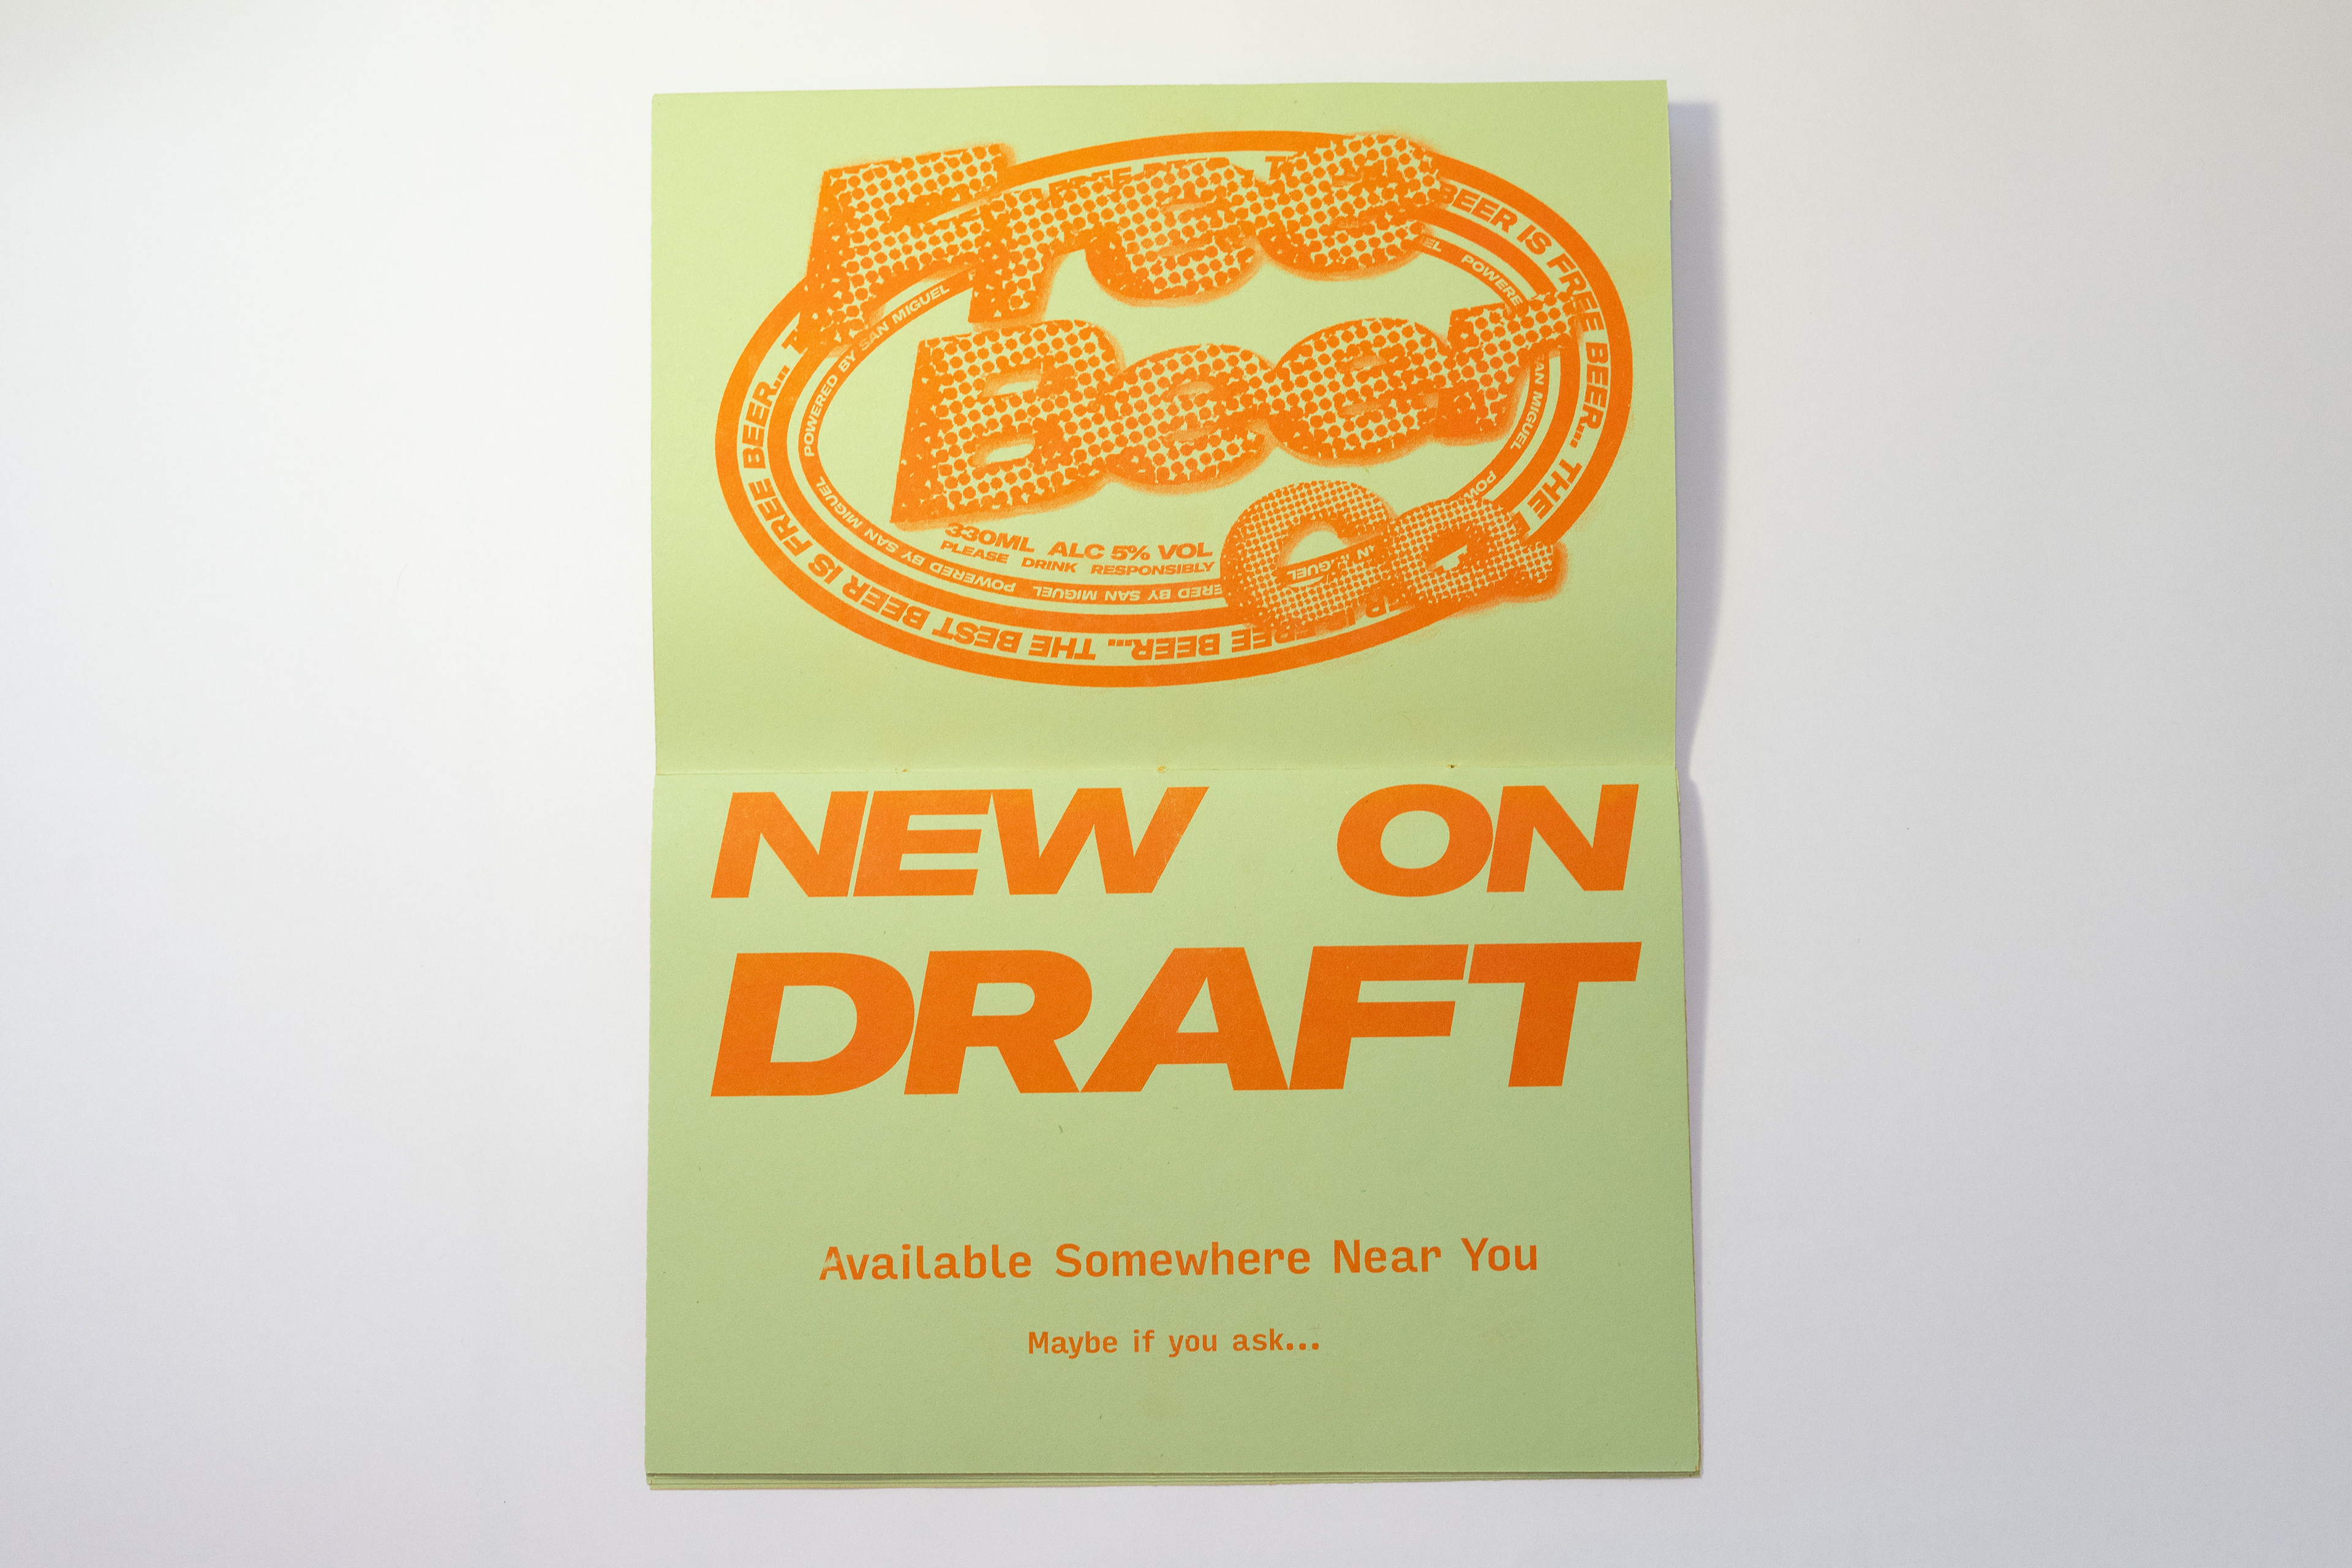
On this page, I have omitted any kind of page furniture, and instead, make use of the whole spread. This is because I wanted to be as bold as possible when introducing my currency. The spread becomes more poster-like.
In this spread, I outline how much each denomination of my currency is worth, as well as the market day. For all imagery, again I used the half-tone. Bottles are worth slightly less than cans, purely because they are smaller.
Trading Day
Also in the brief was to write 100 words documenting our trading day. I really enjoyed the trading day itself, with both selling our own items and buying with our own currency.